Want to give your furniture a fresh new look? You can do it yourself with decorative paper! The key is three things: a smooth substrate, patience, and proper edge finishing. Below, I'll break down the steps clearly for you; follow them and you can't go wrong.
Preparation: A Solid Foundation is Crucial
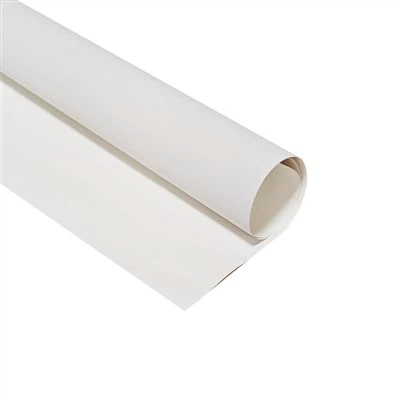
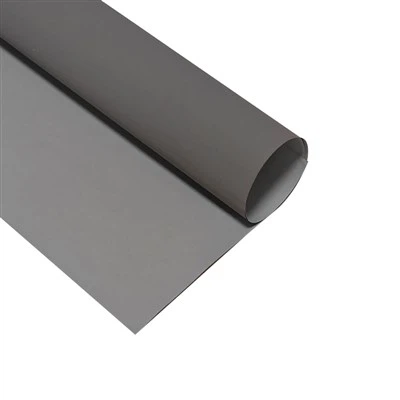
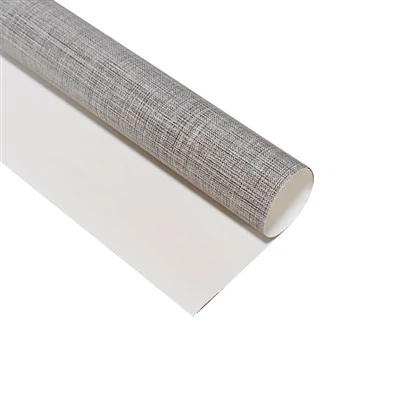
Selection and Inspection: Choose decorative paper with clear patterns and a good feel (such as wood grain). Check the substrate (furniture surface) for smoothness, burrs, or oil stains.
Environment and Tools: It's best to work in an environment between 15°C and 20°C; too cold will affect adhesion. Prepare these tools:
Cutting: Utility knife, scissors, ruler.
Cleaning: Cloth, solvent (such as alcohol).
Condensation: Scraper (or credit card), soft cloth (to wrap around the scraper to prevent scratches).
Measurement: Measuring tape, pencil.
Construction Steps: Proceed Step by Step to Avoid Air Bubbles
Core Method: Dry Application Method (Suitable for Flat Surfaces)
Positioning: Use leftover decorative paper or directly on the furniture to determine the position, securing one corner first.
Pre-application: Starting from one corner, slowly peel off about 10-20mm of release paper, apply this small strip, and gently press it down with a scraper.
Adhesion and Air Removal: While slowly peeling off the remaining release paper at approximately a 45-degree angle, use a scraper to smooth it from the center outwards, applying and scraping simultaneously to squeeze out air and excess adhesive.
Edge Treatment:
Right Angles: After applying to the flat surface, use a hairdryer on a low heat setting to lightly heat the right angle to soften it, then slowly press it down and adhere it with a scraper.
Edge Finishing: For any part of the paper that extends beyond the furniture edge, use a utility knife to precisely trim along the structural edge, then fold the excess paper to the back and smooth and press it down with a scraper.